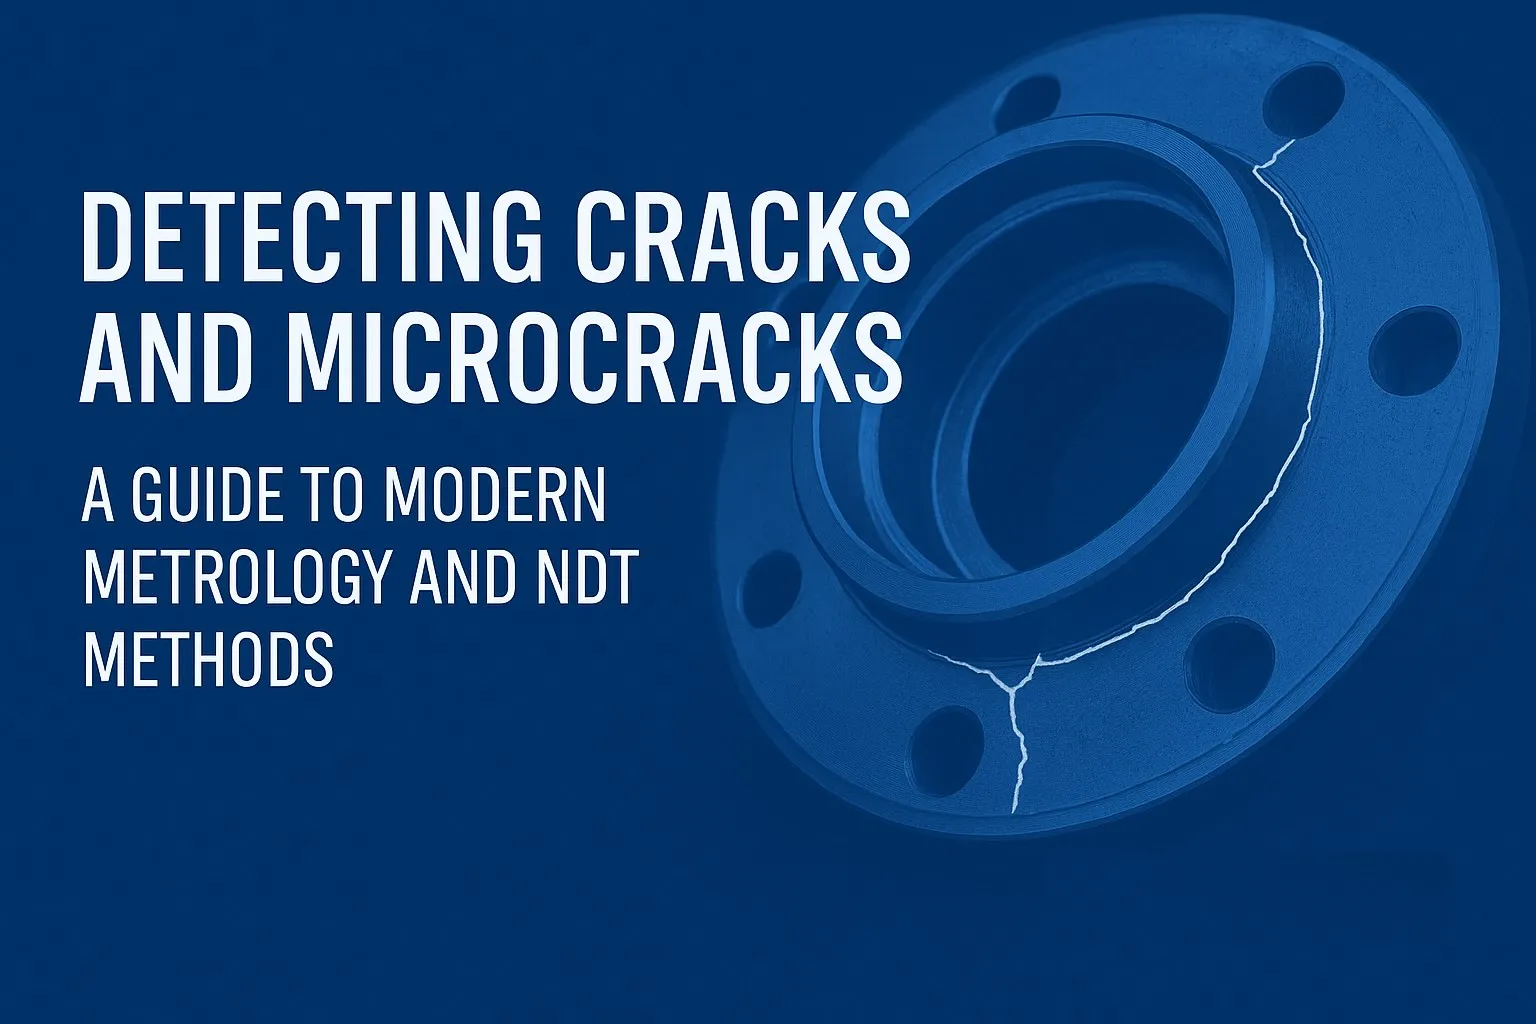
Cracks—whether visible to the naked eye or microscopic in scale—can compromise the performance, safety, and reliability of mechanical parts. For engineers and manufacturers, detecting these flaws early is not just about quality control; it’s about preventing costly failures, avoiding downtime, and in some cases, saving lives.
At Ziqual, we believe in making manufacturing transparent and consistent. That means knowing which inspection methods are available, what their strengths are, and how different industries put them to work. Below is a comprehensive look at the most common metrology and nondestructive testing (NDT) methods used to detect cracks and microcracks.
1. Visual and Optical Inspection
How it works: The simplest approach—using microscopes (optical, confocal, or scanning electron) to directly view surface flaws. Sometimes, a “replica” of the surface is taken with a thin film and then examined under magnification.
Industries:
- Aerospace: Inspecting turbine blades under SEM for early-stage fatigue cracks.
- Medical devices: Confocal microscopy ensures that implants and surgical tools are free of micro-surface defects.
2. Surface-Sensitive Methods
Dye Penetrant Inspection (DPI/LPI)
How it works: A liquid dye seeps into surface-breaking cracks, which become visible under UV or visible light.
Industries:
- Automotive: Ensuring weld seams in chassis components are defect-free.
- Oil & gas: Checking pipelines for surface stress cracks after welding.
Magnetic Particle Inspection (MPI)
How it works: A magnetic field is applied to ferromagnetic materials; cracks cause magnetic flux leakage, which collects iron particles and highlights flaws.
Industries:
- Railway: Wheel axles and rails are checked regularly.
- Defense: Tank armor and weapon components rely on MPI for safety checks.
Eddy Current Testing
How it works: Alternating current induces eddy currents in conductive materials; distortions indicate near-surface cracks.
Industries:
- Aerospace: Detecting cracks around fastener holes in aircraft fuselage panels.
- Electronics: Inspecting solder joints and conductive coatings.
3. Ultrasonic Methods
Conventional Ultrasonic Testing (UT)
How it works: High-frequency sound waves bounce off internal features; reflected signals reveal cracks.
Industries:
- Shipbuilding: Inspecting welds in massive steel hulls.
- Construction: Checking structural steel beams in skyscrapers.
Phased Array Ultrasonics (PAUT)
How it works: Multiple ultrasonic beams create a detailed “image” of internal structures.
Industries:
- Aerospace: Jet engine discs and critical rotating components.
- Nuclear: Reactor piping systems where internal flaws can be catastrophic.
Acoustic Microscopy
How it works: Ultrasonics at very high frequency (hundreds of MHz) map microcracks in thin or small parts.
Industries:
- Semiconductors: Detecting voids and delaminations in microchips.
- Medical devices: Inspecting micro-scale implants and catheters.
4. Radiographic Methods
X-ray Radiography
How it works: Uses X-rays to reveal internal cracks as density variations.
Industries:
- Aerospace & defense: Inspecting rocket motor casings and composite parts.
- Energy: Examining pressure vessels in power plants.
Computed Tomography (CT)
How it works: 3D imaging provides high-resolution views of internal defects.
Industries:
- Additive manufacturing: Ensuring 3D-printed metal parts are free of hidden porosity or cracks.
- Medical: Orthopedic implants and dental components validated with CT.
5. Advanced Optical & Interferometric Methods
Laser Shearography / Speckle Interferometry
How it works: Parts are stressed (thermally or mechanically), and surface strain patterns reveal hidden cracks.
Industries:
- Aerospace maintenance: Inspecting aircraft fuselages quickly without disassembly.
- Wind energy: Checking blades for fatigue cracks.
Optical Coherence Tomography (OCT)
How it works: Uses low-coherence interferometry to create micrometer-resolution cross-sections.
Industries:
- Medical: Initially used in ophthalmology, now applied to thin polymer films.
- Microelectronics: Detecting cracks in layered semiconductor wafers.
Confocal Laser Scanning Microscopy (CLSM)
How it works: Captures 3D surface profiles with micrometer resolution.
Industries:
- Precision machining: Verifying machined optics and aerospace components.
- Watchmaking: Examining microgears for fatigue.
6. Specialized Techniques
Acoustic Emission Monitoring
How it works: Sensors detect ultrasonic waves emitted by growing cracks in stressed parts.
Industries:
- Bridges & infrastructure: Continuous monitoring for crack growth.
- Aerospace: On-wing testing of aircraft structures.
Thermography (Infrared)
How it works: Cracks disrupt heat flow; infrared cameras detect anomalies after active heating.
Industries:
- Automotive: Composite car panels checked with flash thermography.
- Civil engineering: Detecting subsurface cracks in concrete.
Why It Matters
Choosing the right inspection method depends on the material, the type of defect, and the industry standards. Aerospace parts may require phased array ultrasonics or CT scans, while automotive welds may be cleared with dye penetrant or MPI. At Ziqual, we collaborate with trusted partners to ensure that your parts aren’t just manufactured quickly and precisely—they’re also inspected with the right tools when needed.
Cracks may start small, but their consequences can be huge. With the right metrology, you stay ahead of failure.
