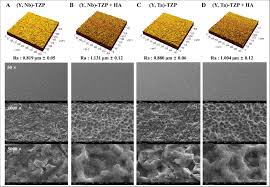
Precision and quality are critical in the machining industry. As tolerances shrink and customer demands increase, manufacturers must adopt advanced measurement techniques to ensure their products meet stringent specifications. Confocal laser microscopy (CLM) is emerging as a powerful tool for metrology in this domain. Offering high-resolution imaging, non-contact measurement capabilities, and robust analysis tools, CLM is well-suited to evaluate machined surfaces and features with unprecedented accuracy.
What is Confocal Laser Microscopy?
Confocal laser microscopy is an optical imaging technique that uses a focused laser beam and a pinhole to eliminate out-of-focus light. By scanning the laser across the sample surface and capturing images at various focal depths, the microscope constructs a highly detailed three-dimensional (3D) map of the surface. This makes it ideal for analyzing the topography of machined parts.
Unlike traditional contact methods such as coordinate measuring machines (CMMs), CLM is non-invasive and does not risk deforming delicate surfaces. Its ability to measure surface roughness, contours, and features in real time sets it apart from other inspection methods.
Applications in Machined Part Metrology
1. Surface Roughness Analysis
Surface finish is a critical parameter for machined parts, affecting their functionality, wear resistance, and aesthetics. CLM can measure surface roughness with nanometer-scale precision, offering insights into machining process efficiency. For example, it can reveal whether tool marks, burrs, or irregularities are within acceptable tolerances.
2. Dimensional Accuracy
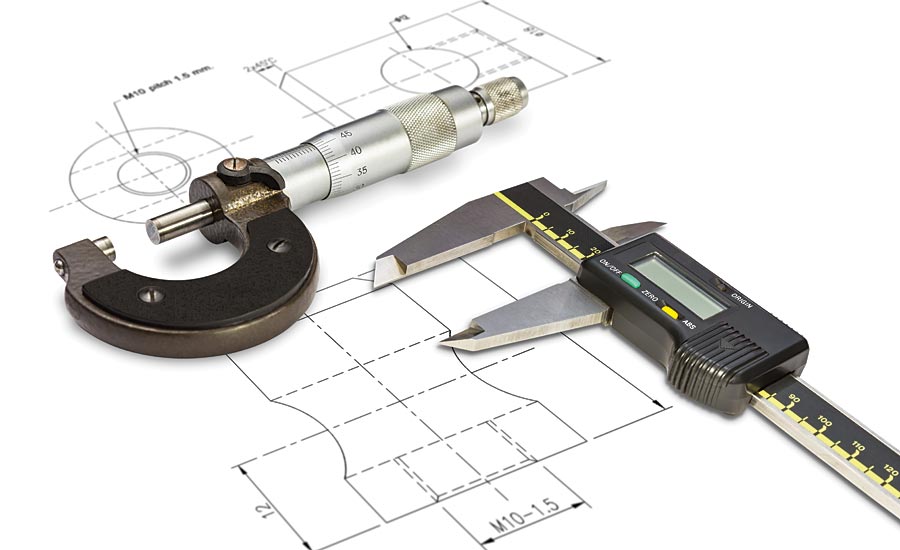
Machined parts often feature complex geometries and tight tolerances. CLM enables high-accuracy measurements of dimensions such as depth, width, and curvature. Its 3D imaging capabilities allow users to compare scanned parts against CAD models to identify deviations.
3. Inspection of Micro-Features
Modern machining often involves the production of micro-scale features, such as grooves, threads, and tiny holes. CLM excels at inspecting these features, providing detailed images and measurements that would be difficult or impossible to achieve with traditional methods.
4. Material Characterization
The interaction between cutting tools and materials can produce microstructural changes, such as phase transitions or heat-affected zones. By integrating confocal laser microscopy with spectroscopic techniques, users can analyze surface composition alongside geometry.
Advantages of Using CLM
- Non-Contact Measurement: No risk of surface damage, making it ideal for fragile or highly polished parts.
- High Resolution: Sub-micron accuracy ensures precise evaluation of intricate details.
- Versatility: Can handle reflective, transparent, and irregular surfaces.
- Rapid Analysis: Reduces inspection times compared to traditional methods.
Challenges and Considerations
Despite its advantages, CLM has some limitations. For example, it may struggle with steep slopes or extremely deep features due to the focus limitations of the optical system. Additionally, the initial investment in equipment and training can be significant. However, for industries prioritizing precision and innovation, these hurdles are often outweighed by the benefits.
Conclusion
Confocal laser microscopy is redefining the standards of metrology for machined parts. Its ability to combine precision, speed, and versatility makes it an invaluable tool for manufacturers aiming to stay competitive in today’s demanding market. As technology continues to advance, CLM will likely play an even greater role in ensuring the quality and reliability of machined components.
Cover photo source: Cho, Young-Dan, et al


